


One of the most destructive natural disasters a homeowner can experience is flooding. It arrives quickly, often without warning, and leaves behind a wake of destruction—soaked floors, damaged belongings, and potential long-term health hazards. While the aftermath may feel overwhelming, how you handle the cleanup process makes all the difference. Taking the proper steps ensures not only a safe recovery but also protects your home from future complications like mold growth or structural instability. Hiring professionals for thorough water damage cleanup ensures that hidden moisture and contaminants are completely addressed before reconstruction begins.
This guide walks you through how to approach flood recovery the right way, from immediate safety measures to complete restoration.
Step 1: Prioritize Safety First
Make sure you can safely return to your home before continuing. If flooding was severe, structural damage or live electrical wires may pose a danger. Wait for authorities or professionals to confirm it’s safe. Wear safety equipment like a mask, gloves, and rubber boots if you’re going into your property because floodwater frequently contains chemicals, bacteria, sharp objects, and sewage.
Avoid turning on electricity or gas until the utilities have been inspected. If you suspect gas leaks or electrical hazards, contact the appropriate service providers immediately.
Step 2: Document The Damage
Once safe, start documenting the damage thoroughly. Take photos and videos of every affected area—furniture, walls, flooring, appliances, and personal belongings. This visual evidence is crucial for filing an insurance claim and ensuring proper compensation.
Keep any receipts related to repairs, temporary lodging, or emergency services. Having everything well-documented will make discussions with your insurance provider smoother and more productive.
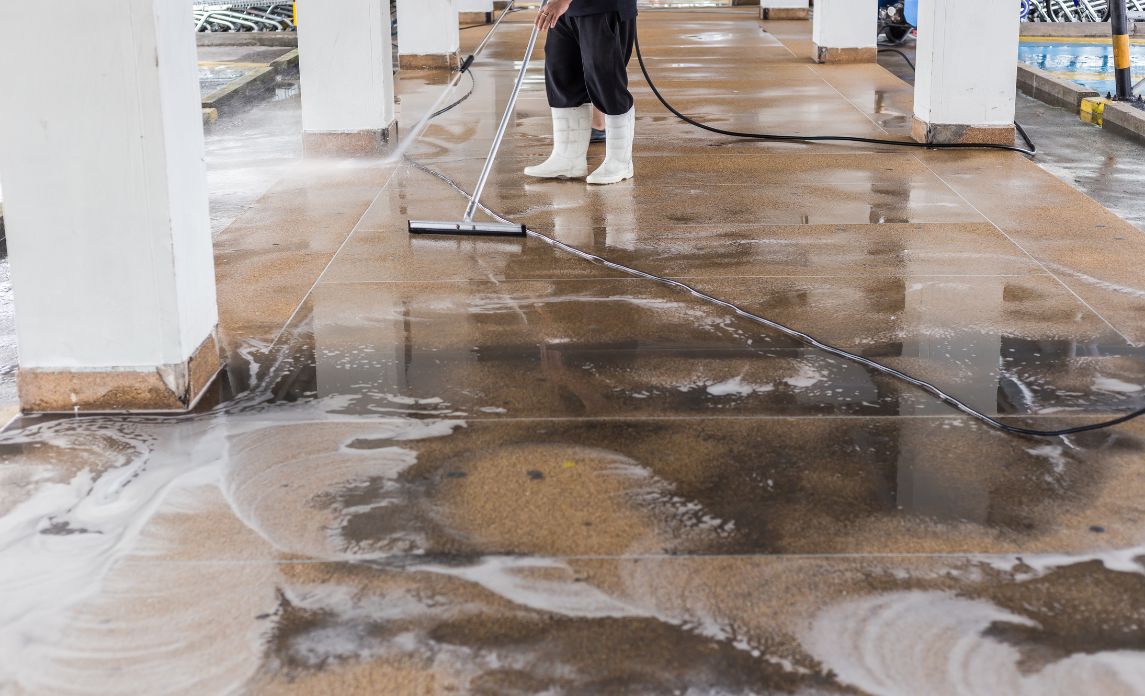
Step 3: Remove Standing Water Quickly
Time is critical. The longer standing water remains in your home, the more extensive the damage becomes. Use buckets, pumps, or wet vacuums to remove as much water as possible. If flooding is widespread, it’s best to contact professionals who have industrial-grade extraction equipment that can handle large volumes efficiently.
Speeding up this step helps prevent materials from absorbing more moisture and reduces the risk of mold growth, which can begin in as little as 24–48 hours.
Step 4: Clear Out Damaged Items
Start removing damaged carpets, furniture, and other porous materials that have absorbed moisture as soon as the water has been removed. These items can harbor bacteria and mold and may not be salvageable. Place them outside in a dry area or dispose of them according to local regulations.
Items made of plastic, glass, or metal may be easier to disinfect and save, while items like mattresses, rugs, upholstered furniture, and drywall often need to be discarded if heavily soaked.
Step 5: Dry Out The Structure
Moisture doesn’t just disappear once water is removed. The air and structure of your home need to be completely dried out to avoid ongoing problems. Open windows and doors to increase ventilation. Use fans and dehumidifiers to help draw out moisture from walls, flooring, and furniture.
Professionals use moisture meters and thermal imaging tools to detect hidden wet spots, especially behind walls or under flooring. These tools are critical in ensuring your space is completely dry and safe to rebuild.
Step 6: Clean And Disinfect Thoroughly
Floodwater can introduce harmful pathogens into your home. After drying, all affected areas should be cleaned and sanitized. Use disinfectants approved for post-flood cleanup to kill bacteria, viruses, and mold spores.
Don’t forget to clean air ducts and HVAC systems if they were exposed to floodwater. Contaminated systems can spread harmful particles throughout your home long after the visible damage is gone.
Step 7: Repair And Rebuild
You can start the process of rebuilding and repairing your house after it has been cleaned and dried. Depending on the severity of the flood, this could involve replacing drywall, flooring, cabinets, insulation, and electrical components.
Ensure that any repairs are done with water-resistant materials when possible, especially in areas prone to future flooding. You may also want to consider flood prevention measures like sump pumps, raised electrical outlets, or improved drainage systems.
Conclusion
Flood recovery is a complex and emotionally draining process—but doing it right makes all the difference. From prioritizing safety to thoroughly drying, cleaning, and rebuilding, each step plays a vital role in protecting your home and your health. Taking a strategic and thorough approach not only speeds up the recovery but also sets the foundation for a stronger, more resilient home in the future.